


Custom DTF Transfers Ready To Press offer a cost-effective, versatile method for personalizing light fabrics with intricate designs, eliminating the need for screen printing setups. For optimal results, prepare your workstation, gather tools, and familiarize yourself with heat settings. Design in vector graphics software, convert to SVG/EPS, calibrate accurately, and ensure wrinkle-free film removal for high-quality transfers using this "ready to press" approach.
Unleash your creativity with Custom DTF Transfers Ready To Press! This comprehensive guide delves into the art of applying intricate designs with precision. From understanding the unique benefits of DTF (Direct-To-Fabric) transfers to mastering the step-by-step pressing process, you’ll learn how to achieve flawless results every time. Get ready to transform fabrics and bring your visions to life with expert instructions for a seamless, professional finish.
- Understanding Custom DTF Transfers
- Preparing Your Workstation for Pressing
- Step-by-Step Guide to Perfect Transfers
Understanding Custom DTF Transfers

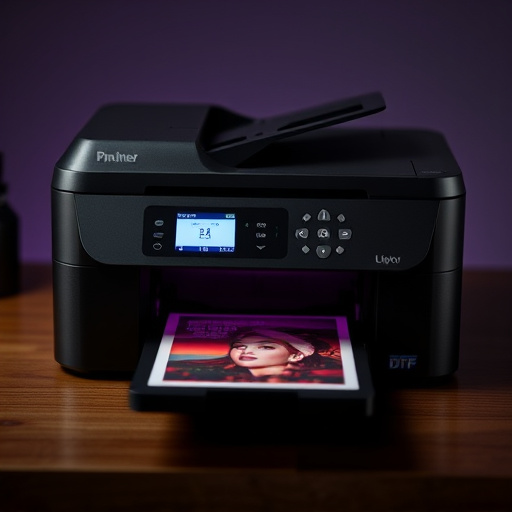
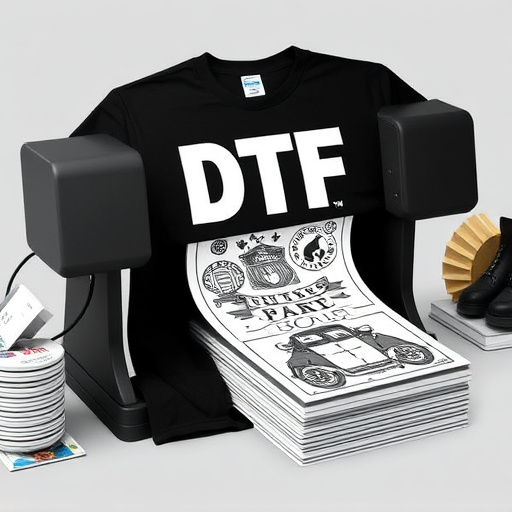
Custom DTF Transfers Ready To Press offer a unique and versatile way to personalize various items with intricate designs. This direct-to-film (DTF) printing method is particularly well-suited for light fabrics, allowing for vibrant and detailed graphics that pop on surfaces like t-shirts, hoodies, and more. By eliminating the need for costly screen printing set-ups, DTF transfers have become a favorite among both professional designers and DIY enthusiasts.
Understanding DTF involves grasping how it differs from traditional printing methods. Unlike direct-to-garment (DTG) printing, which requires specialized ink and printers, DTF uses heat to transfer the design from a film to the fabric. This makes it accessible for creating personalized hoodies, or any garment, with ease. The “ready to press” nature of these transfers simplifies the process even further, enabling users to focus on design creation and selection rather than complex setup procedures.
Preparing Your Workstation for Pressing

Before you begin pressing your custom DTF transfers, it’s crucial to prepare your workstation for optimal results. Start by clearing a well-lit, flat surface large enough to accommodate your project. Gather all necessary tools and materials, including your DTF transfer sheets, heat press machine, iron, or any other recommended heating tool, and protective gear like heat-resistant gloves. Ensure your workspace is clean and organized to avoid any disruptions during the pressing process.
Organize your dtf transfer sheets ready to press, ensuring they are aligned correctly and positioned within easy reach. Familiarize yourself with the heat settings of your chosen heating element—whether it’s a heat press or iron—and understand the recommended temperature and pressure for applying DTF transfers. This preparation will streamline the process, allowing you to focus on creating precise, high-quality custom DTF transfers.
Step-by-Step Guide to Perfect Transfers

Creating perfect custom DTF (Direct to Film) transfers for your garments is an art and a science. Here’s a step-by-step guide to ensure you achieve immaculate results with your ready-to-press Custom DTF Transfers. First, prepare your design files using vector graphics software such as Adobe Illustrator or CorelDRAW. Ensure the design is high-resolution (300 DPI) and has clean lines for optimal printing quality.
Next, convert the design into a format compatible with your direct to film printer. Most printers support popular formats like SVG, EPS, and PDF. Once your files are ready, load them onto the printer’s software. Precise placement of the design on the film is crucial, so follow the manufacturer’s guidelines for calibration and positioning. After printing, carefully remove the film from the printer, ensuring it’s free from wrinkles or creases that could compromise the transfer’s quality.
Custom DTF Transfers, when properly applied, can transform any design into a ready-to-press masterpiece. By understanding the process and preparing your workstation effectively, you’ll achieve perfect transfers every time. Follow our step-by-step guide for optimal results, ensuring your designs are not only visually stunning but also ready to take on the printing press with confidence.