

Crafting Custom DTF Transfers Ready To Press involves selecting creative designs, considering target audience and aesthetics, preparing a clutter-free workspace with essential tools, and using graphic design software to prepare transfer sheets for flawless substrate bonding via heat and pressure, resulting in defect-free printing ideal for custom tees and branding.
“Unleash your creativity with this comprehensive guide to creating flawless Custom DTF Transfers Ready to Press. From selecting captivating designs to setting up your workspace, we’ll walk you through the entire process step-by-step. Discover the art of customization, explore various options, and master the technique for achieving professional results. Get ready to transform your ideas into tangible, high-quality transfers with ease.”
- Choose Your Design: Customization Options for DTF Transfers
- Prepare Your Workspace: Gather Materials and Set Up
- Transfer Process: Step-by-Step Guide to Achieving Perfection
Choose Your Design: Customization Options for DTF Transfers

When creating Custom DTF Transfers Ready To Press, the first step involves choosing your design. This is where your creativity comes into play. With DTF (Direct to Fabric) printing, the options for customization are vast. You can opt for a pre-made design from various online libraries or create a unique, personalized artwork. The beauty of DTF transfers lies in their versatility; you can design anything from simple text and graphics to intricate patterns and illustrations.
Consider your target audience and the message or aesthetic you want to convey when selecting your design. This step is crucial as it sets the tone for the entire transfer process. Remember, a well-designed Custom DTF Transfer not only enhances the final product’s visual appeal but also ensures it stands out in a competitive market, making it a true reflection of your brand or personal style.
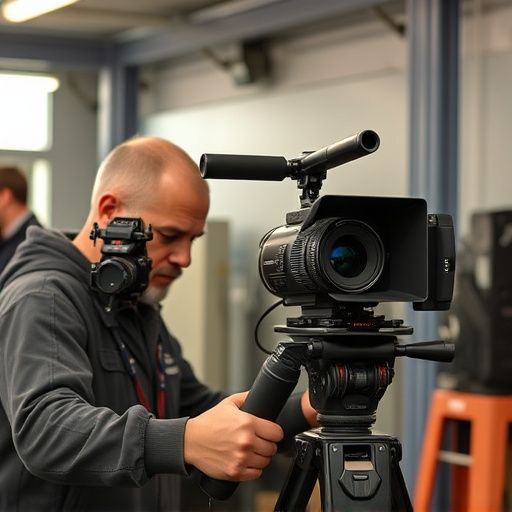
Prepare Your Workspace: Gather Materials and Set Up
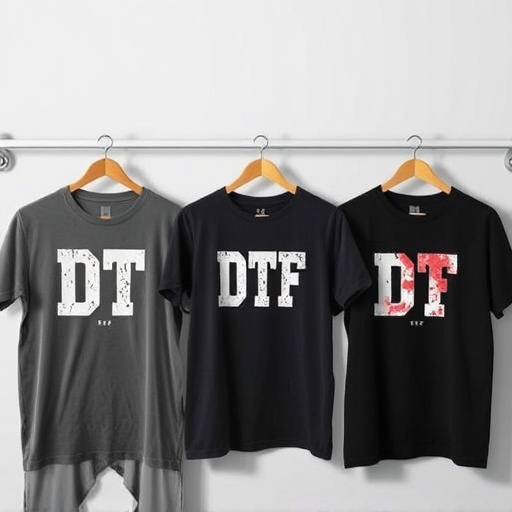
Before diving into the process, preparing your workspace is a crucial step to ensure a smooth and efficient workflow when creating custom DTF transfers, whether for custom t shirts or personalizing direct to film personalized hoodies. Start by clearing a dedicated area, free from clutter, where you can lay out all your materials. Gather your necessary tools: a clean, flat surface (a table or work mat), a heat press machine, and a roll of DTF transfer paper. Organize these items within easy reach to minimize disruptions during the transfer application process. Ensure adequate ventilation in your workspace as well, as this step may involve potential fumes from the heat press.
Once your space is set up, lay out the DTF transfer paper on your work surface. Position it flat and ensure there are no wrinkles or creases. This preparation will guarantee accurate alignment when pressing your design onto your chosen substrate, whether for bulk DFT shirt production or creating a single personalized hoodie.
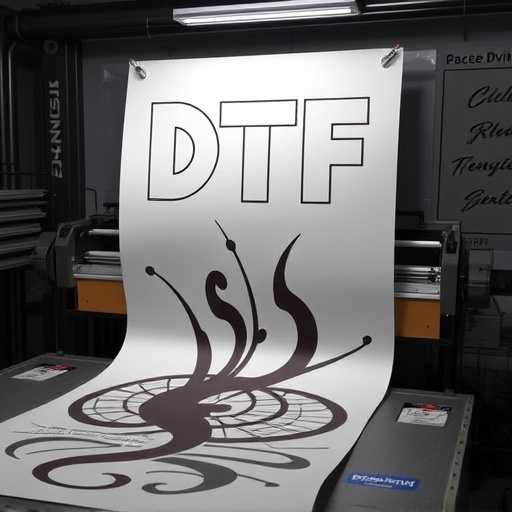
Transfer Process: Step-by-Step Guide to Achieving Perfection
The process of creating perfect Custom DTF Transfers ready to press is an art that combines precision, technique, and attention to detail. It begins with designing or selecting your desired graphic using specialized software. Once your design is finalized, it’s time to prepare the transfer sheet, ensuring the image is aligned correctly and the resolution is optimal for crisp reproduction on various materials, especially when used for logos DFT for clothing brands or creating DTF for custom graphic tees.
Following a series of careful steps, the design is then transferred onto the substrate using heat and pressure. This involves heating the transfer sheet to a specific temperature and applying it to the desired surface, be it fabric, wood, or metal. The heat activates the adhesive, allowing the design to bond with the substrate while leaving the carrier sheet intact. After cooling, the carrier sheet is peeled away, revealing the transferred image. This meticulous process ensures that your DTF printing for t-shirts or any other custom product turns out flawless, every time.
Creating custom DTF (Direct to Film) transfers is an exciting way to bring your designs to life. By following these simple steps, from choosing your design to the transfer process, you can easily achieve professional-looking results, ready to press onto various materials. With the right workspace setup and the right tools, you’ll be able to produce high-quality, unique transfers that cater to your creative vision.